Why 2FA?
All our paid plans allow you to add a second authentication step on another device to protect your account. Two-factor authentication is available for your Starter, Premium or White Label plan as well as for all sub accounts attached to your main account.
We are aware that preventing an unauthorized access to your account is critical and this is one of the most important features in terms of security.
We encourage all our users to add this second layer of protection, not only on our service, but also in all your critical accounts like E-Mail, social media and other SaaS solutions.
How do I activate the 2FA in my account?
1. Download the Google Authenticator app from Google Play or App Store scanning the QR Code below
For this purpose, we recommend using Google Authenticator to manage and store your 2FA accounts. You can use any other 2FA App like Microsoft Authenticator or TOTP. In our opinion, Google Authenticator provides a perfect solution, user experience and helps you to take care of your backups easily.
 Instant download Google Authenticator App scanning this QR Code.
2. Log into your account
3. Go to your account settings and click on “Manage two-factor authentication” under your password dialog
If the Two-factor Authentication is not active yet it will show a red square icon. Please, enter your password and click on manage.
4. Turn on the two-factor authentication
From the two-factor dialog, switch on the two-factor and follow the instructions.
5. Launch the Google Authenticator on your smartphone
Make sure you have the App up to date and remember to keep regular backups.
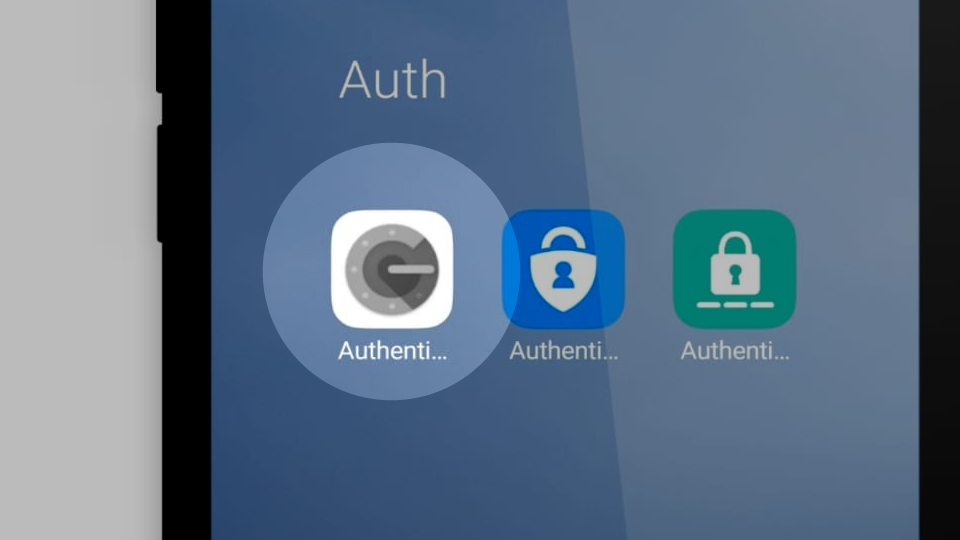 Launch Google Authenticator App
6. In the app click in the (+) sign and scan the displayed QR Code to add your account.
Scanning the QR Code is the fastest way to add service. Alternatively, you can manually enter the 32-character code.
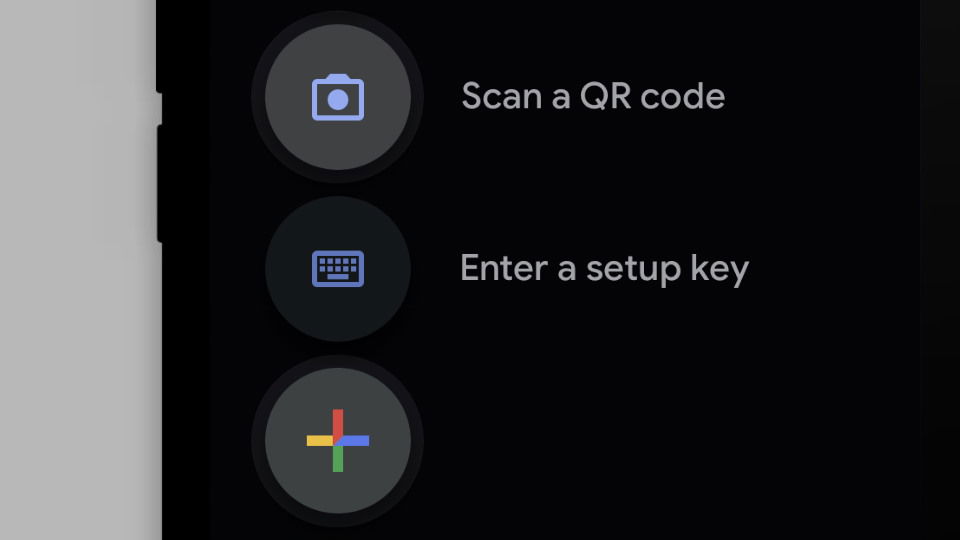 Add our service to the Google Authenticator App.
7. Type the 6 digits number provided in the app on the website
You are set. From now on, when you access your account, you will be requested your login and password, as usual, but you will need to enter the 2FA Code too.
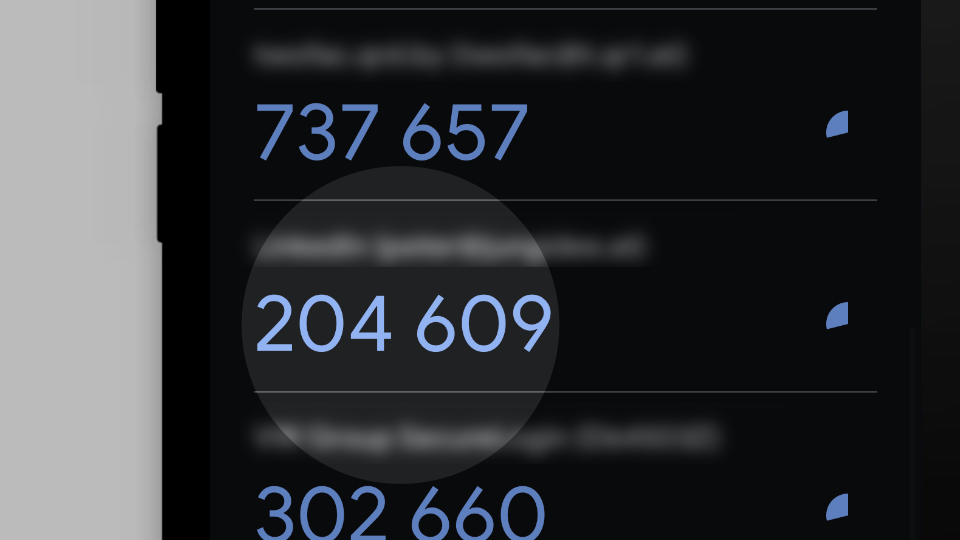 Enter the 6-digit number to finalize the syncronisation
8. Copy or print your one-time recovery codes and keep them in a safe place.
In case you do not have access to your phone, you lost it, or you just want to give temporary access to someone these codes will be very helpful.
Making 2FA mandatory
Administrators of an Enterprise Account can make 2FA mandatory for their Plan's users. This can be set in the 2FA-settings of the administrator account. Once active, users will get a prompt to configure it after their next login.
 Make 2FA obligatory for your users
 What if I lose my smartphone?
You can use the one-time recovery codes to access your account and authorize your device again if you have written them down and saved them in a safe place (step 7).
We really recommend you keep strict control on your two-factor authentication information for all your services. It requires some extra work on your end, but you are adding a very powerful layer of protection.