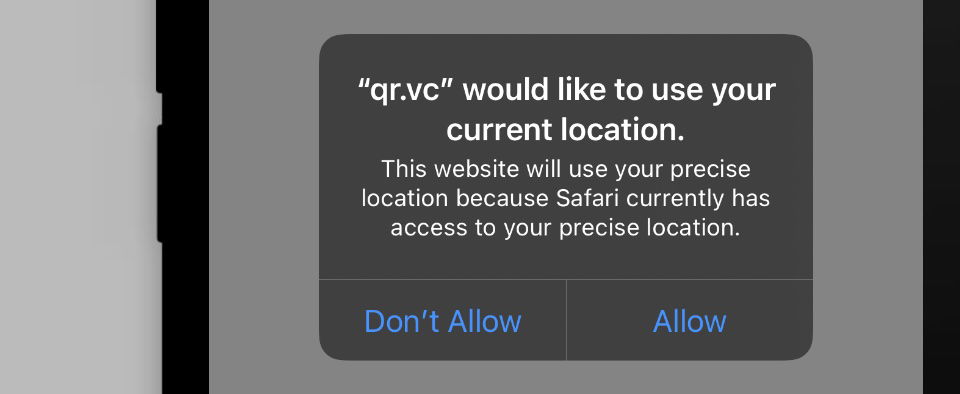
When a GPS position is requested on a smartphone the default mandatory dialog to ask the user for permission looks like the following screenshot.
 GPS location system approval screen
It is very unlikely that a user will approve this dialog. It feels like you want to spy his position. However, if you give the user an explanation upfront why you are requesting his position and give him an incentive there is a higher chance that he will submit his position. In this tutorial you will learn how to write your own text, display a country dependent message and set advanced parameters to offer a fully customized dialog screen when the user scans a QR Code and is asked for permission to submit his position.
It is far more likely for a user to transmit their position if you ask them for permission beforehand - and explain, why their location data should be queried.
Unless you are certain that the exact GPS location is really adding value to your campaign, you should consider not using this feature. It increases the friction, and it can lead to a higher percentage of give-ups after scanning the QR Code.
Step by step guide to customize your GPS settings
1. Log into your account
Setting up a custom dialog is only possible in our paid plans.
2. Go to your user settings
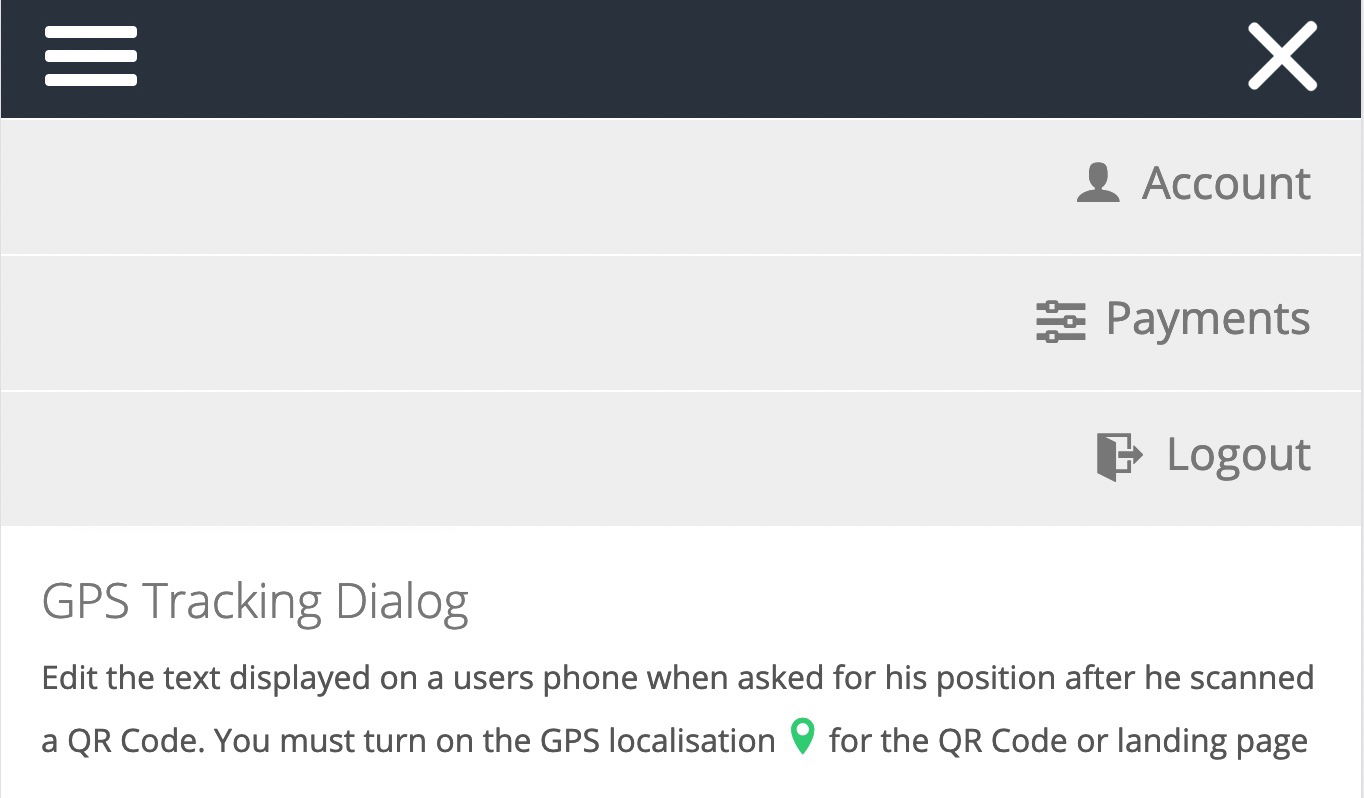
Go to your Account settings section and then to the GPS Tracking Dialog section. There you can fully customise the contents and functioning of the GPS feature in your account.
 Account settings and GPS Dialog section
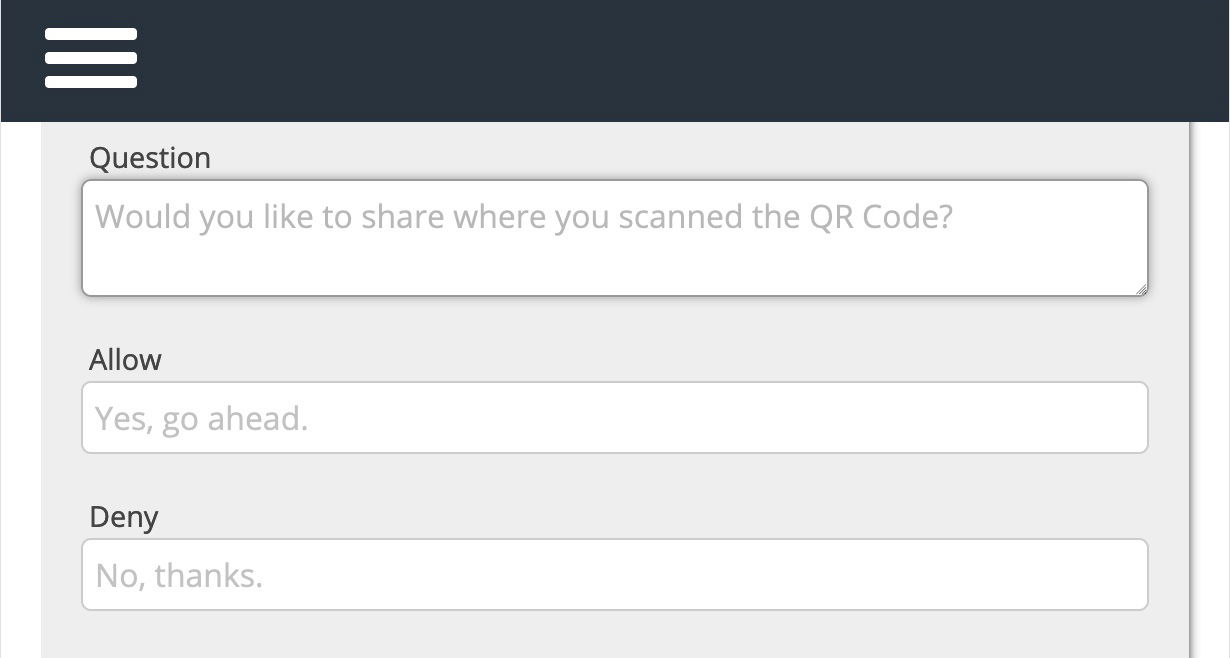
3. Write your own texts for your GPS tracking dialog
You can leave this section just as it is and the default messages will be displayed.
 Input fields for custom text on the GPS dialog
4. Create different messages for different countries
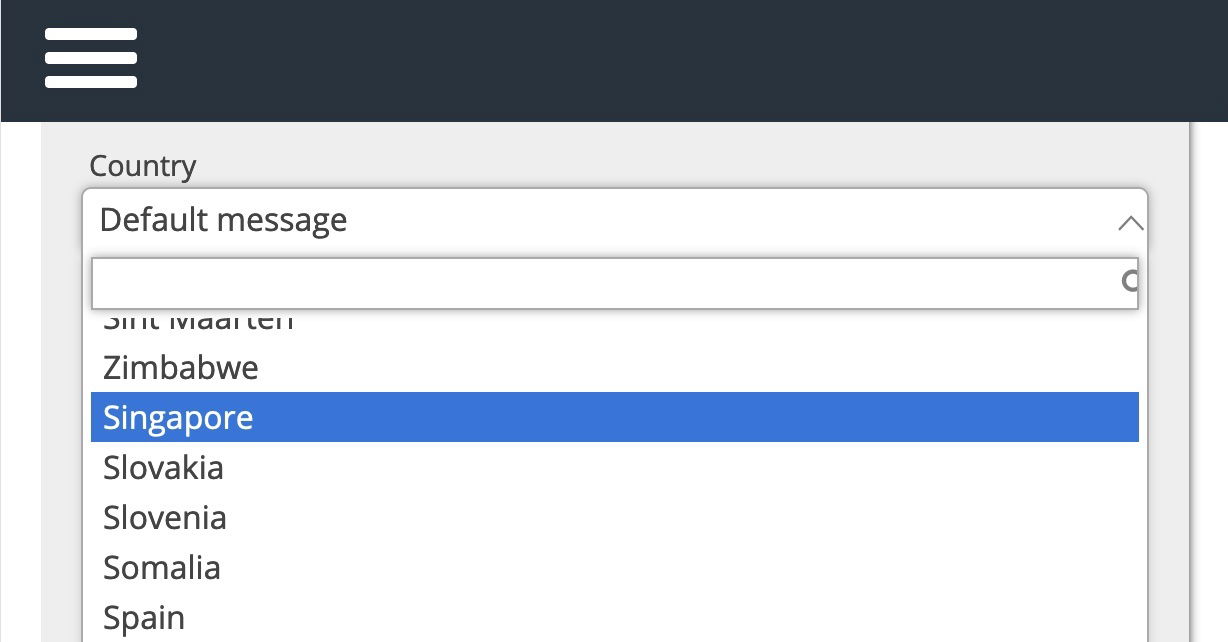
You can display a default message or different texts depending on the country from which the QR Code is being scanned. Different regulations may apply depending on the country and this will allow you to fine-tune this message.
 Country selector for custom messages
5. Optionally switch off the tracking dialog
Before the position is requested by the user, the above dialog appears. If you ask the user for permission beforehand and explain why his location data should be queried, it is more likely that he is transmitting his position.
You can switch off your custom GPS dialog anytime. However, in any case, the browser needs the permission of the user, see W3C privacy and will display a system internal dialog. Just showing a plain uninformative system dialog will make the user suspicious and it will be unlikely that he submits his position. So, we recommend you the leave this option switched on.
6. Add a postal address to the scan if available
When GPS position (longitude/latitude) is retrieved, the city, region, postal code and street including street number (if available) may be looked up as well. To do so you need to get a Google API key first and enter it in the dialog below.
Note when this option is enabled the redirect to the target URL is slowed down by at least 250ms, because the Google Geocode API is queried first.
7. Launch the message full screen or on top of the page
When full screen is turned on, the user sees the GPS dialog first before he is being redirected to the original landing page. When turned off the dialog will be shown on top of the display together with the destination landing page loaded in an iframe.
8. Submit position as a URL parameter on redirect
If you activate this option, the GPS position will be submitted to the target URL using query parameters. This enables the target website to retrieve the position for further processing.